How to Build a Concrete Block Wall
To build a concrete block wall, pour a level concrete footing twice as wide as the wall and below the frost line, then lay standard 8x8x16 blocks on a 3/8 inch mortar bed, starting with the corners and working to a string line in a staggered running bond. Reinforce with vertical rebar in grouted cells and horizontal joint wire, tool the joints, then keep the wall moist to cure. Below is each step in order, the real 2026 material and labor costs, and how to size your footing and block count.
Key takeaways
- A standard 8x8x16 block is actually 7 5/8 inches, sized down to fit a 3/8 inch mortar joint, so lay out using nominal 8 by 16 inch dimensions.
- You need about 1.125 blocks per square foot of wall, plus roughly 3 bags of 60 lb mortar per 100 blocks, and 5 to 10% extra for cuts.
- The footing should be about twice the wall width (16 inches for an 8 inch wall) and extend 12 inches below the frost line; cure it 7 days before laying block.
- Lay corners first, keep every course level and plumb to a string line, and stagger joints in a running bond, never stacked.
- Installed cost runs about 15 to 24 dollars per square foot in 2026; grouted or reinforced walls reach 24 to 32 dollars.
What you need before you start: blocks, tools and footing
A concrete block wall is built from concrete masonry units, or CMUs. The workhorse is the standard 8 by 8 by 16 inch block, whose actual size is 7 5/8 inches in each dimension so that a 3/8 inch mortar joint brings it back to the nominal size. That is why you always plan a wall in whole 8 and 16 inch increments.
For tools you need a mason's trowel, a 4 foot level, a mason's line and line blocks, a jointing tool, a brick hammer or masonry saw for cuts, and a mixing tub or mixer. To count exactly how many blocks and bags of mortar your wall takes, put the length and height into the block wall calculator before you buy.
Every block wall sits on a poured concrete footing, so that comes first. Check with your local building department too: many places require a permit and inspections once a wall passes about 4 feet in height or carries a load.
Step 1: Pour a level concrete footing below the frost line
The footing carries the whole wall, so it has to be solid, level and deep enough. As a rule the footing is about twice as wide as the wall, so an 8 inch block wall wants a 16 inch wide footing, and it extends roughly 12 inches below the deepest local frost line.
Set any vertical rebar into the wet footing now, at least 6 inches deep, positioned to line up with the block cells you will grout later. The footing surface must be flat and level, because any error here compounds with every course above.
Step 2: Lay out the wall and dry-set the first course
Snap a chalk line on the footing to mark each face of the wall. Then dry-lay the first course of block along the line without mortar, leaving a 3/8 inch gap between units for the vertical head joints, and mark where each block falls.
This dry run tells you where you will need cut or half blocks and whether the wall length works out in whole blocks. Adjusting now, on dry blocks, is far easier than discovering a bad fit five courses up. String a mason's line between the corner points, set 3/8 inch above the footing, as your guide for the first course.
Step 3: Mix the mortar to the right consistency
Use Type S mortar for load-bearing or below-grade walls and Type N for non-load-bearing walls above grade. Mix to a consistency where the mortar hangs on a trowel held at 90 degrees without sliding off.
As a planning number, one cubic foot of mortar lays about 25 standard blocks, which works out to roughly 3 bags of 60 lb mortar per 100 blocks at 3/8 inch joints. Mix only what you can use in about an hour so it does not stiffen. If you would rather cost it precisely, the concrete block calculator returns the bag count with the block total.
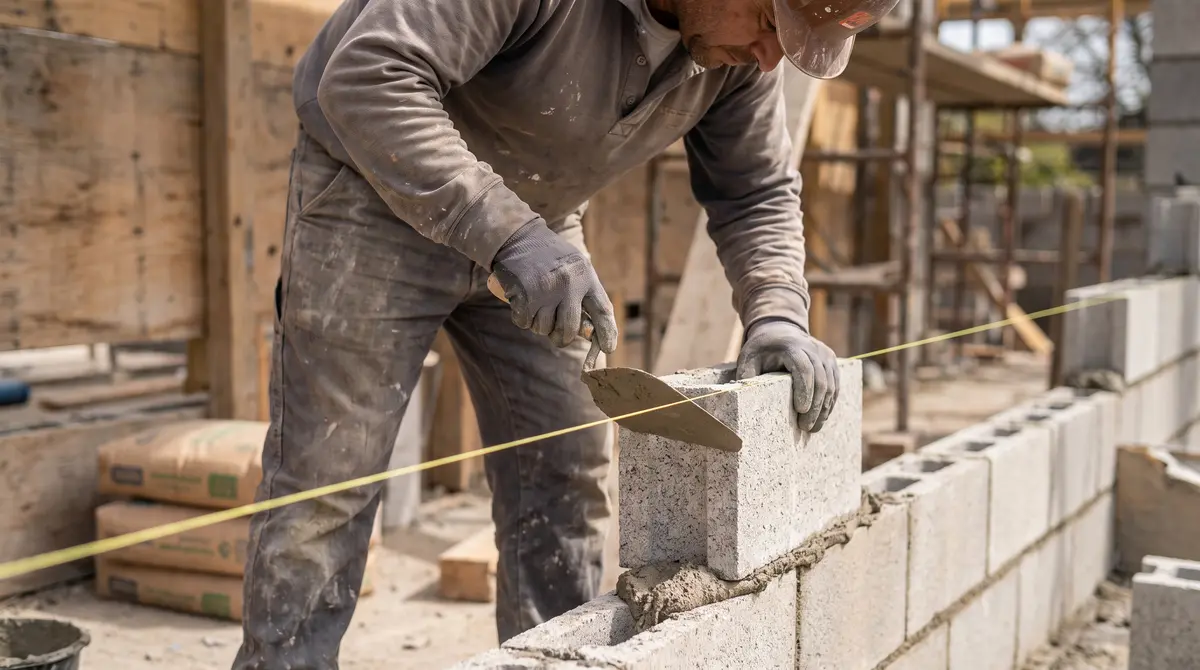
Step 4: Lay the first course, corners first
The first course is the most important one, since it sets the line for the entire wall. Dampen the footing, then spread a 1 inch bed of mortar and furrow it with the trowel tip so the block seats evenly.
Always set the two corner blocks first. Butter the end of each, press it into the bed to leave a 3/8 inch joint, and tap it with the trowel handle until it is dead level, plumb and just touching your string. Then fill in the blocks between the corners, buttering the head joints and checking level every few units.
| Item | Standard value |
|---|---|
| Block (nominal) | 8 x 8 x 16 in |
| Block (actual) | 7 5/8 in each way |
| Mortar joint | 3/8 in |
| Blocks per sq ft | about 1.125 |
| Mortar bed | about 1 in thick |
Step 5: Build up the courses in a staggered running bond
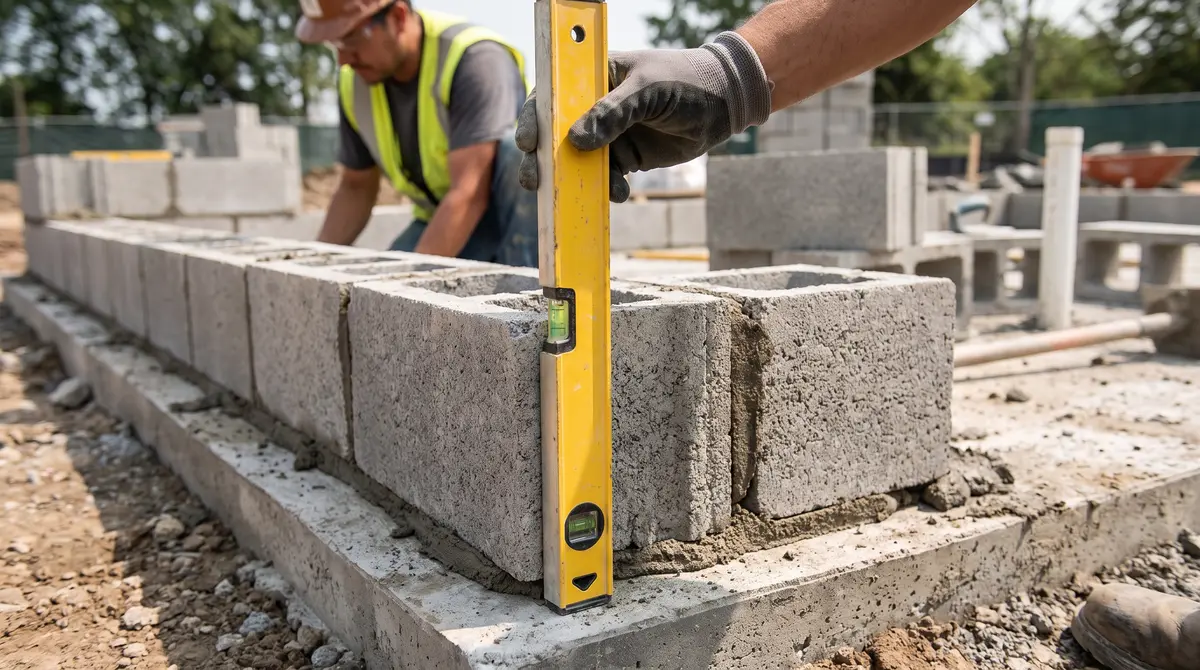
For each new course, spread a 1 inch mortar bed on the face shells of the course below, then butter the head joint of each block and slide it down and forward against its neighbor. Keep the corners a course or two ahead so the string always has something to run to.
Stagger the vertical joints so each block bridges the two below it, the running bond pattern; stacked joints are much weaker and are not allowed for structural walls. Use half blocks at the ends to keep the offset. Check level and plumb with the 4 foot level after every few blocks, because small errors are easy to fix now and impossible later.
Step 6: Add rebar, grout and horizontal reinforcement
Freestanding and load-bearing walls need reinforcement to resist cracking and lateral loads. Run vertical #4 or #5 rebar in grouted cells, commonly at 32 to 48 inches on center, with 48 inches being the code maximum for a solid-grouted hollow-unit wall. Taller walls, seismic zones and retaining walls need closer spacing and an engineer's design.
Pour grout into the reinforced cells in lifts of no more than about 4 feet at a time, or the mortar joints can blow out. For horizontal strength, lay ladder or truss joint-reinforcement wire in the bed every two courses. Your local code sets the exact bar size, spacing and footing, so confirm before you build anything structural.
Step 7: Tool the joints, cap the wall and cure
When the mortar is thumbprint hard, run a jointing tool along the bed and head joints to compress and smooth them, which sheds water and gives the crisp finished look. Cut away any squeezed-out mortar.
Finish the top course with cap blocks for a clean, weather-resistant surface. Then keep the wall damp for several days so the mortar cures strong rather than drying out fast. A masonry sealer afterward helps protect a CMU wall from water and staining. Once you know your dimensions, run them through the block wall calculator to lock in the blocks, mortar and cost before ordering.
Frequently asked questions
How many blocks do I need per square foot for a wall?
How deep and wide should the footing for a block wall be?
How much does it cost to build a concrete block wall?
What size mortar joint is used for concrete block?
Do you need rebar in a concrete block wall?
References
- Concrete masonry unit (Wikipedia)
- QUIKRETE: Building a Block Wall (guide)
- IRC R606.12.3.2: Minimum reinforcement for masonry walls
- Concrete Masonry & Hardscapes Association (CMHA)