Planning a Segmental Retaining Wall
A retaining wall is a soil-support system, not simply stacked landscape blocks. Start by identifying retained height, slopes, surcharge, soil, water, boundaries and nearby structures, then use the selected manufacturer's details or a project design for excavation, base, drainage and reinforcement. The calculator only counts materials from those inputs.
Key takeaways
- Record total retained height, slopes, surcharge, soil, groundwater, utilities and nearby structures before selecting a system.
- Permit and design thresholds are jurisdiction- and site-specific; a four-foot rule is not universal.
- Base, embedment, drainage aggregate, pipe, fabric and reinforcement must follow the selected system and project design.
- Construction includes verification of subgrade, controlled placement and compaction, drainage outlets and course alignment.
- The retaining-wall calculator estimates blocks, caps and entered layer quantities; it does not design the wall.
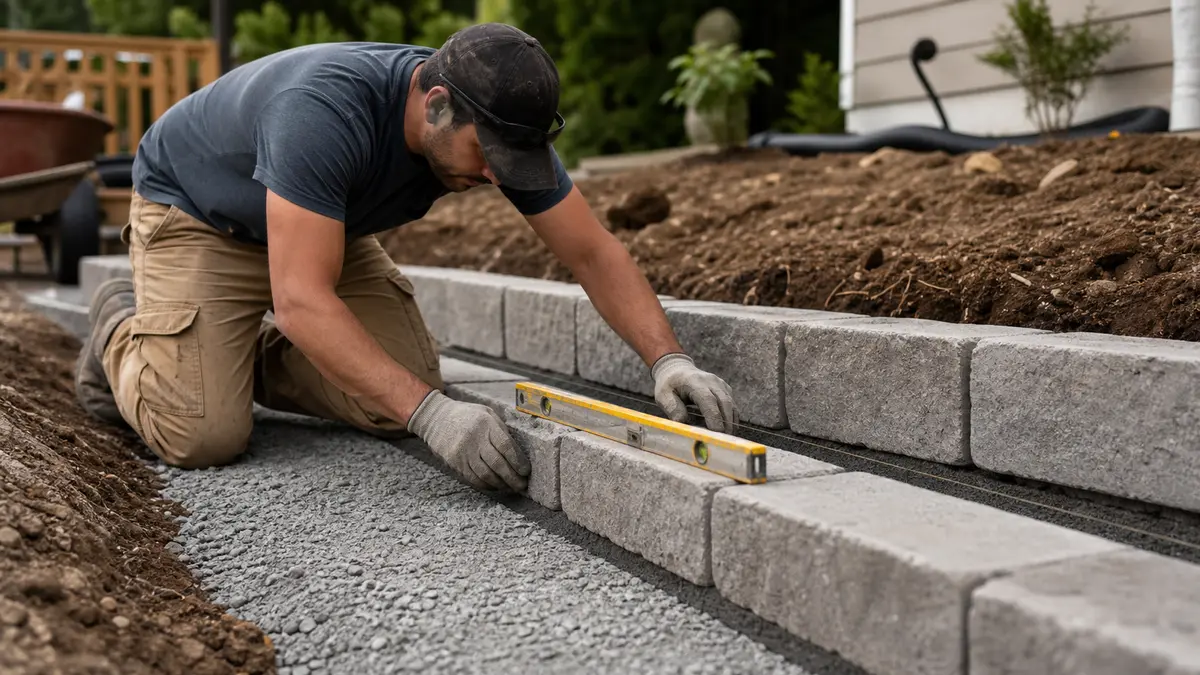
Plan the wall and check if you need a permit
Measure length, exposed height and any grade changes, then record the full retained height used by the selected design method. Identify slopes above and below, driveways or other surcharge, soil and groundwater conditions, property boundaries, utilities and nearby structures.
Ask the local authority what permits, setbacks, guards and design documents apply. Requirements cannot be inferred from exposed height alone.
Select a segmental retaining-wall system only after checking its published application limits and details. Enter approved wall and product dimensions in the retaining wall calculator for a quantity takeoff; the tool does not verify stability.
Dig the trench to the right depth and width
Set excavation width, depth and embedment from the selected manufacturer's detail or approved design. The values depend on unit geometry, wall height, foundation material, grade and local conditions, so a universal trench table is not appropriate.
Expose the required bearing material, manage water and utilities, and have unsuitable or disturbed subgrade addressed as the project documents require. Excavation safety and spoil placement also need planning before work starts.
Record the finished base elevation and any stepped transitions so the block count and course layout match the approved profile.
Lay and compact the gravel base
Use the leveling-pad material, compacted dimensions and placement procedure stated by the selected system or design. Aggregate grading, lift thickness, moisture and compaction requirements are not interchangeable between projects.
Verify elevation and level before setting units because later courses follow the first-course alignment. Record any required inspection or proof of compaction before the base is covered.
The calculator can convert a known base width and compacted depth into geometric volume. Use supplier data to convert that volume into a purchase quantity.
Set a dead level first course
Place the first course to the selected system's line, level, batter and embedment requirements. Clean bearing surfaces and use full-unit steps where the approved profile changes elevation.
Check course length against actual unit dimensions, corner details and curves before continuing. A visually level row does not replace verification of foundation elevation, setback and alignment.
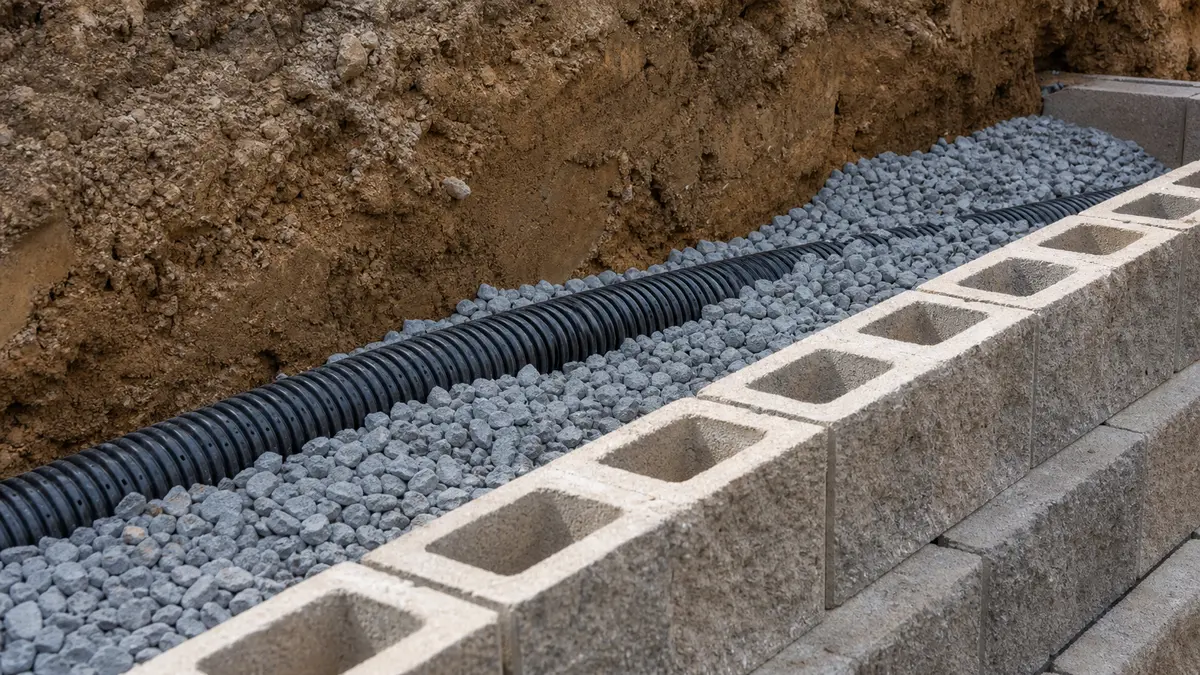
Install drainage behind the wall
Follow the drainage detail for the selected wall and site. It should identify drainage aggregate, collection pipe where required, filter or separation materials, outlets and management of surface water.
Pipe diameter, aggregate width, fabric selection and outlet spacing are design details, not universal constants. Confirm that outlets discharge lawfully and remain maintainable.
Groundwater, concentrated runoff or a wall below a slope or pavement can require project-specific drainage beyond a typical manufacturer detail.
Stack courses, backfill, and reinforce tall walls
Stack units, maintain bond and setback, place drainage material and compact backfill in the sequence required by the selected system. Use equipment and lift thickness compatible with the design and avoid loads near the wall that the construction-stage condition cannot support.
Where reinforcement is specified, use the stated product, elevations, length, orientation, connection and backfill procedure. Do not infer geogrid spacing or length from wall height alone.
Use the retaining wall block calculator to count blocks, courses and caps from entered geometry. Treat its base and backfill volumes as takeoff inputs to verify against the project details.
Finish with caps and grade the top
Install caps or coping, adhesives or connectors and surface grading as specified by the wall system. Keep drainage outlets accessible and confirm that finished grades do not direct new runoff toward the wall or adjacent property.
Complete required inspections and retain product, compaction and as-built records. Review maintenance needs for joints, vegetation, outlets and erosion.
The retaining wall cost worksheet lists the scope to price. It does not turn the quantity takeoff into a design or a contractor quote.
Frequently asked questions
What is the first step in building a retaining wall?
How deep should the base be for a retaining wall?
Do I need a permit to build a retaining wall?
How much does it cost to build a retaining wall?
How tall can a retaining wall be without engineering?
Sources and references
These references and structured source records support the method and material data used on this page.
- Retaining wall (Wikipedia)
- NCMA / CMHA: Segmental Retaining Wall design
- ASTM C1372: Dry-Cast Segmental Retaining Wall Units
- USDA NRCS: Retaining walls and drainage